
Bendy and the Ink Machine Walkthrough: All 5 Chapters
Use this Bendy and the Ink Machine walkthrough to solve chapter puzzles, handle boss fights, find missable secrets, and reach the ending with fewer stops.
Jump to
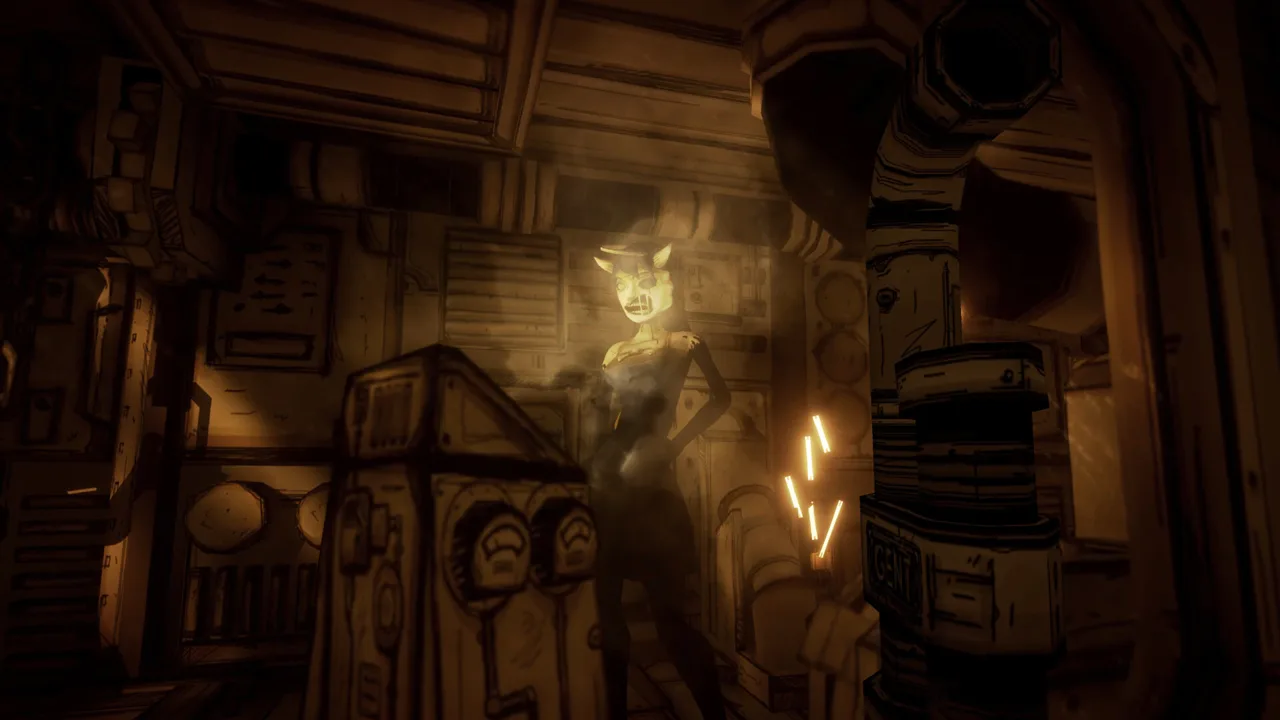
Chapter 1: Moving Pictures
Getting the Ink Machine running is only the beginning of Henry’s escape from Joey Drew Studios. This Bendy and the Ink Machine walkthrough takes you through all five chapters, from the six-object puzzle to the Film Vault and the ending. Keep this Bendy and the Ink Machine walkthrough handy when a music puzzle, Alice’s errands, or a boss fight stops your progress.
The 2.1.0 update unlocks every story chapter regardless of progress, while Archives remains separate. It also enables continuous attacks when you hold the attack button.
Raise the Machine and Restore Power
- Find the Ink Machine loading dock. Collect both power cells in this room: one from the shelf on the left and another from the nearby chest.
- Raise the machine. Insert the cells into the battery holder, then operate the lever.
- Visit the power room. Return toward the previously closed gate, turn left, and locate the room containing six pedestals. Interact with the power lever to establish the repair objective.
- Collect the six objects. Find the wrench, gear, record, ink bottle, Bendy doll, and book. Return them to the pedestals.
- Restore ink flow. Visit the projection room and activate the ink-flow control, then return to the power room and pull the main switch.
Search desks, shelves, chairs, and floor-level spaces carefully. Early demo builds used multiple possible object locations, so use the six-item checklist to track your progress rather than following a demo’s placement order.
| Chapter 1 stage | Objective | Required items or interaction |
|---|---|---|
| Loading dock | Raise the Ink Machine | Two power cells and the lever |
| Pedestal room | Complete the repair puzzle | Wrench, gear, record, ink bottle, doll, book |
| Projection room | Restore ink flow | Ink-flow control |
| Power room | Activate the machine | Main power switch |
| Basement | Open the route forward | Drainage valves and axe |
Escape and Clear the Basement
- Return to the machine. Approach the boarded opening to trigger the Ink Demon encounter.
- Run toward the exit. Follow the escape route until the floor collapses.
- Drain the flooded areas. Turn the pipe valve where you land, then operate the valves in the two flooded areas farther down.
- Take the axe from the workbench. Break the wooden barriers, including the three boards across the final doorway, and approach the ritual room to finish the chapter.
Before triggering the escape, check these optional stops:
- Crooner Tuner: Turn on the radio in the small office between the “DREAMS COME TRUE” area and the machine balcony.
- The Creator: After activating the machine, enter the “SHEEP SONGS!” poster beside Boris to find theMeatly.
- Audio logs: Listen to the recording near the theater hallway and the recording on a shelf after the fall.
For a collectible-focused Bendy and the Ink Machine walkthrough run, finish your workshop search before approaching the boarded machine.
Official page: Bendy and the Ink Machine (joeydrewstudios.com)
Chapter 2: The Old Song
The next stretch of this Bendy and the Ink Machine walkthrough centers on the recording department, Sammy’s musical puzzle, and draining the lower level.
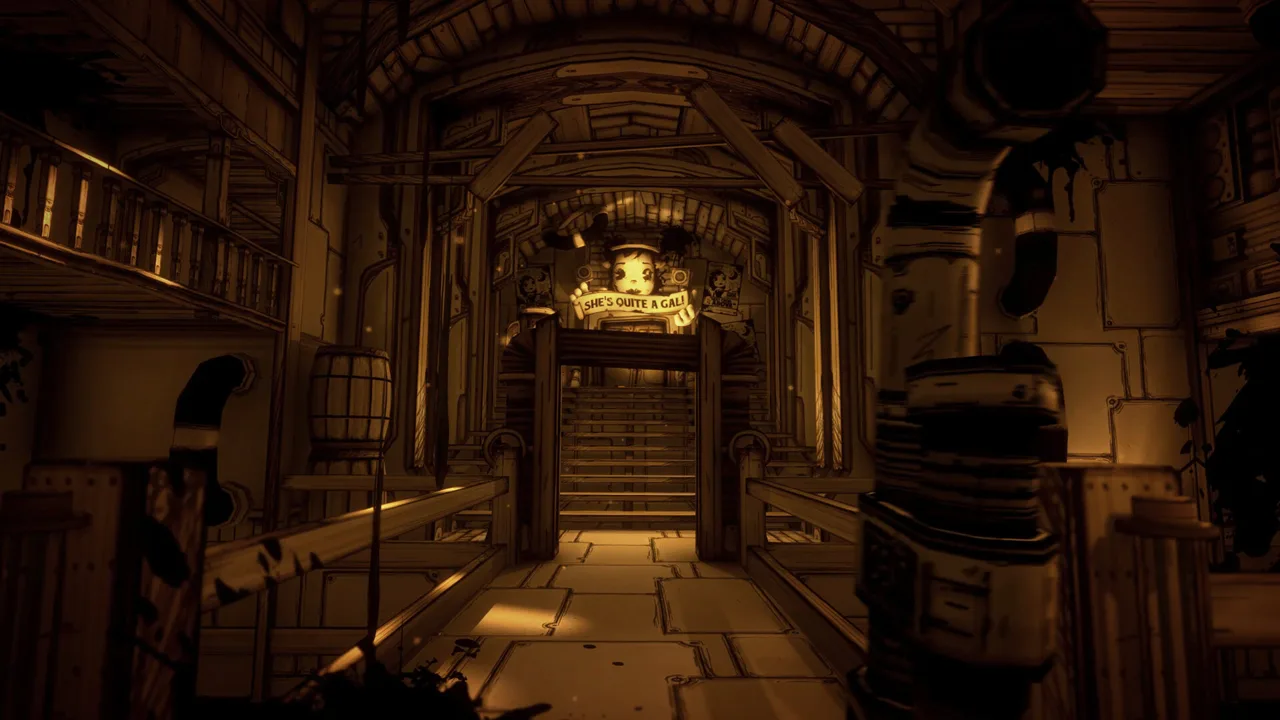 Image: Steam / Joey Drew Studios
- Leave the starting room. Chop through the obstruction and descend the stairs.
- Explore before opening the shutter. Check the starting section for recordings and Bacon Soup before advancing.
- Find Wally’s closet keys. Open the closet and listen carefully to the recording inside.
- Follow your musical sequence. Play the instruments in the order specified by that recording. The sequence is randomized, so write down your own combination.
- Drain the lower level. Continue through the Infirmary toward Utility Shaft 9. Recover the valve carried by Jack Fain after using the machinery to crush him.
- Operate the pump control. Complete the drainage objective, then continue through Sammy’s capture sequence and the subsequent escape.
| Puzzle or encounter | What to do | Detail to remember |
|---|---|---|
| Locked closet | Find Wally’s keys and listen inside | The recording gives your instrument order |
| Recording-room puzzle | Play the specified instruments | The sequence changes between runs |
| Jack Fain | Use the machinery, then collect his valve | Taking the valve unlocks A Special Hat |
| Ink Demon chase | Follow the escape route | Surviving unlocks The Believer |
If you want Strike Up The Band, activate the projector nine times before completing the instrument puzzle. Check the stage from the upstairs booth: all nine Bendy cutouts should be visible, arranged as five in front and four behind.
Optional stops:
- Play the pipe organ five times for Johnny’s Broken Heart.
- Activate the radio inside Sammy’s office for Coast to Coast.
- After operating the pump control, check the other room in the pipe-organ hallway for theMeatly’s poster.
Chapter 3: Rise and Fall
Alice’s tasks send you repeatedly between elevator levels. Keep the task order below beside your Bendy and the Ink Machine walkthrough so you can collect the correct objects before returning.
 Image: Steam / Joey Drew Studios
Leave Boris’s Safehouse and Choose a Path
- Prepare Boris’s soup and open the exit. Before leaving, return to the room where Henry woke up and collect the bone beside the soup-can box.
- Give Boris the bone. This unlocks Knick-Knack Paddywhack. Finish searching before leaving because the safehouse door locks behind you.
- Explore Heavenly Toys. Activate the toy machine and move the shelves to reach the hidden desk.
- Choose the Demon or Angel path. Each contains a different audio log, so collecting every Chapter 3 recording requires separate runs.
For the Tommy Gun, change the toy ink blob on the hidden desk into the Ink Machine shape, choose the Demon path, and complete Alice’s errands without dying. All three conditions matter.
Complete Alice Angel’s Tasks
| Task | Destination | What to collect or complete |
|---|---|---|
| Gears | Room containing Bendy dolls | Three gears from boxes |
| Thick ink | Level 11 | Three glowing blobs from Swollen Searchers |
| Valve cores | Level P | Three cores obtained through valve-panel puzzles |
| Cutouts | Level K | Destroy 15 Bendy cutouts |
| Ink hearts | Level 14 | Five hearts from the inky abyss |
- Work through the errands in order. Return the requested objects before starting the next assignment.
- Prepare for the final cutout. Leave the cutout behind the elevator until last, then use the nearby hiding station when the Ink Demon appears.
- Survive the Butcher Gang attack. Afterward, finish optional exploration before handing over the ink hearts.
- Collect the five hearts. Search Level 14 while watching the Projectionist’s position, then return when you are ready to leave the chapter.
The 2.1.0 update increases Ink Demon appearances in Chapter 3. Locate Little Miracle Stations during each trip and keep a nearby refuge in mind while collecting.
Optional stops:
- Interact with 25 Bendy dolls for Inner Child.
- Open the boarded room on Level 9 while carrying the axe.
- After the Butcher Gang attack, visit Level P for theMeatly.
- Turn the valve behind the Level 14 barricade, then revisit the previously flooded passage on Level P for Long Forgotten Self.
Chapter 4: Colossal Wonders
This section of the Bendy and the Ink Machine walkthrough follows the route through Archives, the attraction areas, and the Haunted House.
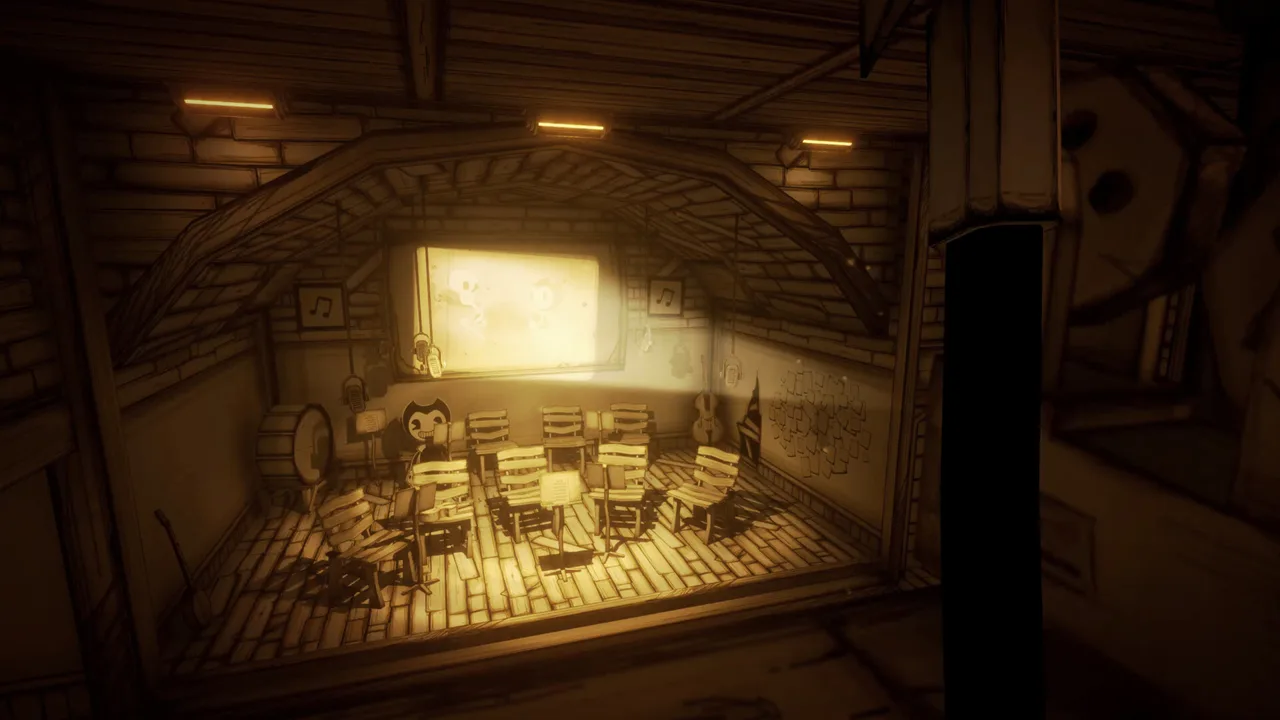 Image: Steam / Joey Drew Studios
- Search Management and open Archives. Before entering Archives, return to Management and check the newly accessible room for theMeatly’s poster.
- Continue through the “PRIVATE” doorway. At the ink machine with a dial, select the arch-shaped radio symbol. Supply an ink blob, operate the lever, and activate the resulting radio for Finger Waggin.
- Reach Storage 9 and restore attraction power. Complete the required activities in Research and Design, Attraction Storage, and Maintenance.
- Complete the carnival games. Perfect scores unlock additional achievements, but perfect performances are unnecessary for story progression.
- Defeat Bertrum. Take the axe from the crate and attack the exposed joints after an arm slams down.
- Finish Maintenance and enter the Haunted House. Complete optional stops before boarding the ride.
| Encounter | Opening or warning | Response |
|---|---|---|
| Bertrum | An arm lands and its circular joints light up | Strike the exposed joints with the axe |
| Boris, opening phase | Charges followed by exhaustion | Dodge, collect the dropped ink, and make a weapon |
| Boris, middle phase | Leaps and downward slams | Keep moving and strike while he is grounded |
| Boris, final phase | Throws carts across the arena | Dodge three throws, then attack when he weakens |
Bertrum has four arms with four joints apiece. Work around the outside perimeter between openings and dismantle each arm patiently.
For Unlikely Victory, return to upper Maintenance after opening the Haunted House. Collect the dial from the previously inaccessible trunk near the switch. During the Boris fight, fit that dial to the weapon machine and select plungers.
Each plunger lasts for one successful hit, so use the ink Boris drops to create a replacement between phases. Give the final cart throws your full attention: a hit causes instant death.
Optional stops:
- Score perfectly in Bull’s Eye Bonanza and Bottle Wallop for their separate achievements.
- Enter one of Bertrum’s seats while an arm is down for Going To Be Sick.
- Stand behind the photo cutout in upper Maintenance and aim at the camera for A Little Souvenier.
Chapter 5: The Last Reel
The final chapter brings together combat, stealth, and the Administration pipe puzzle. Use this part of the Bendy and the Ink Machine walkthrough to keep the harbor fight and Film Vault objectives separate.
- Search the starting room. Four Bacon Soup cans are here; the remaining three are in Administration.
- Defeat Sammy and finish the harbor battle. In the v1.5.1.0 battle rules, Henry must personally kill 25 enemies and clear the active wave. Alice and Tom’s kills have a separate achievement condition.
- Continue to the Film Vault area. Collect the recording in the room on the right.
- Learn the Administration layout. Locate the ink supply, pipe-making machine, hiding station, and broken pipe assembly before transporting ink.
- Make the three required pipe pieces. Bring ink back to the machine, select the needed piece, and install it in the puzzle.
- Enter the vault and continue toward the Ink Machine. Follow the route inside, listen to the recording along the way, and complete the final sequence and epilogue.
For Valued Employee, finish the pipe puzzle without being spotted by the patrolling Butcher Gang. Watch patrols from the side rooms and move after enemies pass.
Optional stops:
- Find the radio in the closed box immediately left inside the vault.
- Collect the recordings in Administration and Joey Drew’s office.
- After completing the pipe puzzle, revisit the poster room near Joey’s office for A Sweet Discovery.
FAQ
What items do you need to activate the Ink Machine?
Collect a wrench, gear, record, ink bottle, Bendy doll, and book. Place them on the six pedestals, restore ink flow in the projection room, and activate the main power switch.
Does this Bendy and the Ink Machine walkthrough use a fixed musical code?
No. Chapter 2 randomizes the instrument sequence. Listen to the recording inside Wally’s locked closet and follow the order it gives your run.
How do you unlock the Tommy Gun?
Shape the toy ink blob into the Ink Machine, take the Demon path, and complete Alice Angel’s tasks without dying. Collect the gun when it becomes available.
Do you need to finish the story to unlock chapter selection?
The 2.1.0 update unlocks all five story chapters regardless of progress. Archives remains separate; after completing the story, load the completed save and select it through Chapter Select.
Continue with
 Bendy and the Ink Machine Beginner Guide: Start HereUse this Bendy and the Ink Machine beginner guide to tackle early puzzles, handle enemies, find useful collectibles, and avoid common first-play mistakes.
More in Guide

Bendy and the Ink Machine Chapter 1: Full Walkthrough
Beat Bendy and the Ink Machine chapter 1 with a step-by-step walkthrough covering the six ritual items, ink flow, hidden extras, and the basement escape.
Bendy and the Ink Machine Controls: Platform Guide
Learn Bendy and the Ink Machine controls for PC, PlayStation, Xbox, Switch, and mobile, with button charts, interaction tips, and updated combat advice.
Bendy and the Ink Machine How Long Is It? Full Guide
Bendy and the Ink Machine how long is it? Explore the four-hour story, five chapters, replay content, and tips for planning your trip through the studio.
Bendy and the Ink Machine How to Save: Punch Clock Guide
Bendy and the Ink Machine how to save explained: use punch clocks, understand Chapter Select limits, back up PC saves, and handle a stuck saving icon.
Continue exploring

Join the community
Official channels for news, updates and player help: