
Bendy and the Ink Machine Search The Warehouse Guide
Bendy and the Ink Machine search the warehouse guide: find Storage 9, activate the Haunted House objective, beat the minigames, and restore its power.
Jump to
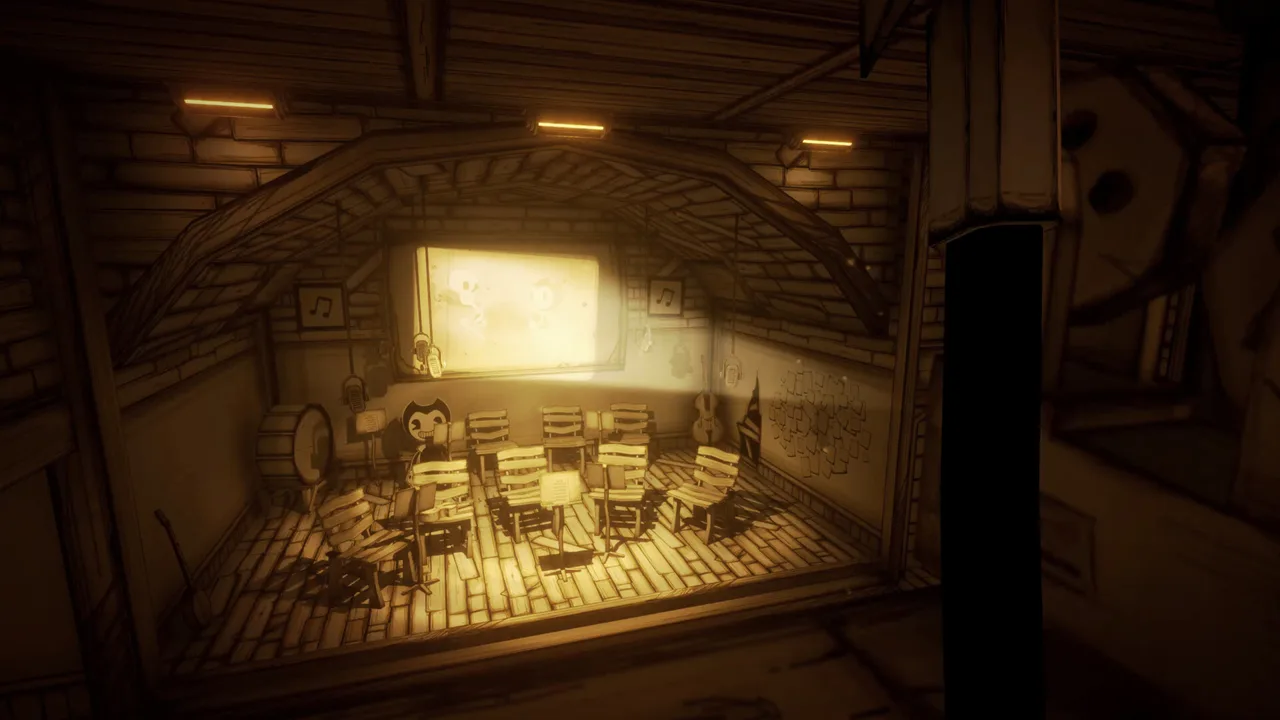
How to Complete Search the Warehouse
Locked carnival booths can make Storage 9 feel like a dead end. To advance the Bendy and the Ink Machine search the warehouse objective, enter Storage 9 and walk toward the Haunted House entrance to trigger Power the Haunted House. The Bendy and the Ink Machine search the warehouse section leads into a sequence of carnival games, room switches, and encounters that restore power to the attraction.
Head for the Haunted House before trying to solve the carnival games. The stalls become available when you receive the power objective, so checking them beforehand leaves you staring at closed attractions.
Once that objective appears, locate the switch box beneath Alice Angel’s face beside the Haunted House. It contains five switches, four of which have labels. Cords beneath the box lead toward the rooms involved in restoring power.
| Your current position | What to do next | Progress marker |
|---|---|---|
| Outside the locked Storage 9 entrance | Climb the nearby stairs and pull the upstairs switch | Storage 9 becomes accessible |
| Inside Storage 9 | Walk toward the Haunted House entrance | Power the Haunted House objective appears |
| Carnival booths are available | Earn passing results in the shooting and bottle games | The first power room opens |
| A room’s power switch is activated | Return to the Haunted House switch box | Activate the corresponding panel switch |
The sequence matters more than searching every corner. Make a habit of returning to the Haunted House panel after completing each power room. Exploring another locked doorway before operating that panel can send you around the warehouse without advancing the objective.
The walkthrough below covers the warehouse power sequence, including the encounters required to open the Haunted House.
Official page: Bendy and the Ink Machine (joeydrewstudios.com)
Enter Storage 9 and Find the Warehouse Clue
If you have just dropped out of the ventilation shaft, you still need to unlock the warehouse entrance. The Bendy and the Ink Machine search the warehouse route takes you upstairs before sending you through Storage 9.
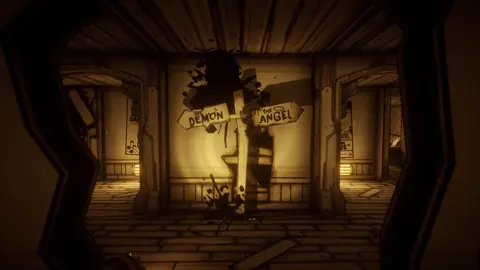
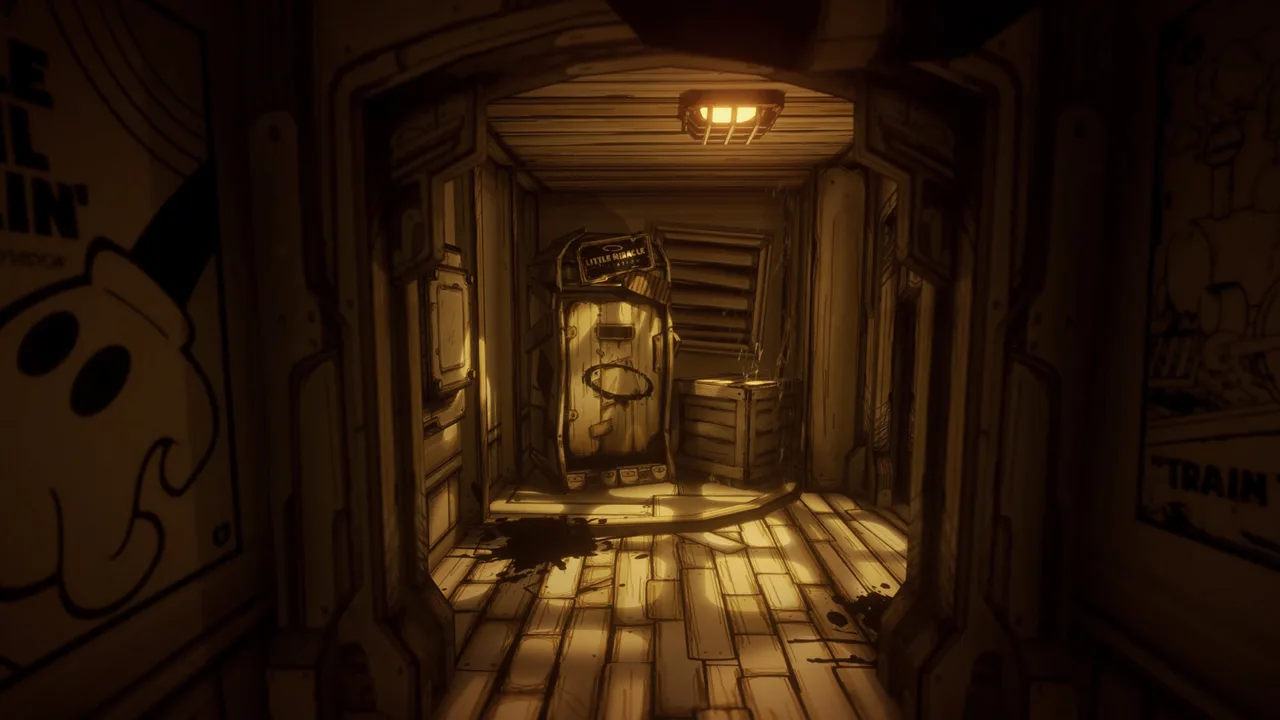 Image: Steam / Joey Drew Studios
- Find the stairs near the Storage 9 entrance. Follow the painted “COME UP AND SEE ME” message upward.
- Continue past the “ALMOST THERE” message. At the top, enter the space framed by Bendy’s mouth.
- Look around the room with concept sketches. Bertrum Piedmont’s audio log sits on a table.
- Go past the table and pull the switch. This unlocks Storage 9.
- Return to the warehouse entrance and enter. The lights come on as you move inside.
- Descend the stairs, then approach the Haunted House. This triggers the next objective.
At the bottom of the warehouse stairs, you will find a punch clock. Turn right from it to locate Wally Franks’s audio log near the closed stalls. His message connects the locked rooms with the carnival games, giving you the clue needed for the next stage.
Before moving on, check these nearby points:
- Listen to Bertrum’s upstairs recording.
- Find Wally’s recording near the stalls.
- Locate the Haunted House power panel so you can return to it easily.
Keep the panel’s position in mind throughout this section. You will revisit it between encounters, and recognizing that return route saves unnecessary wandering through Bendy Land.
Beat the Carnival Games and Open the First Room
The carnival games are the main obstacle early in the Bendy and the Ink Machine search the warehouse sequence. You need passing results in Bull’s Eye Bonanaza and Bottle Wallop to open the first power room.

Listen for the passing ding. Perfect scores belong to separate achievement challenges; you do not need flawless rounds to continue the story.
| Game | Story requirement | Timing or aiming tip | Optional achievement |
|---|---|---|---|
| Bull’s Eye Bonanaza | Earn a passing result | Memorize the target positions and move your aim ahead of the pattern | Bulls Eye requires a perfect score |
| Bottle Wallop | Earn a passing result | Release when the ball reaches its lowest position | Call The Milk Man requires all nine bottles with three balls |
| Strength test | Ring the bell for the Research and Design stage | Swing when the hammer is farthest back | Wasting Time |
Shooting gallery tips
The shooting targets appear in a fixed pattern. Use repeated attempts to learn where the next target will rise, then position your aim before it appears.
Focus on reaching the passing threshold rather than chasing every target. If you miss a shot, continue the round: a missed perfect score does not automatically mean a failed story attempt.
On PC, lower the graphics settings if uneven performance makes the moving targets difficult to track. In version 2.1.0, minigame camera sensitivity matches your player setting, so adjust that setting if aiming feels uncomfortable.
Bottle toss tips
Watch the ball’s movement before throwing. Release near its lowest position to produce a faster throw, and aim toward the lower pair of bottles in each stack.
For the optional perfect-score achievement, you must knock down nine bottles using three balls. Keep that challenge separate from your immediate goal of opening the power room.
Once both required games produce passing results:
- Check the door to the left of the minigame booths.
- Enter the newly accessible room.
- Pull its power switch.
- Return to the Haunted House.
- Activate the corresponding switch on its panel.
Complete that panel step before moving to the strength test and Research and Design.
Restore Power Through the Warehouse Rooms
After the carnival games, the Bendy and the Ink Machine search the warehouse walkthrough becomes a series of room challenges. Each area supplies another part of the Haunted House’s power sequence.

| Area | Main obstacle | Required action |
|---|---|---|
| First power room | Access through the carnival games | Pull the room switch, then its Haunted House panel switch |
| Research and Design | Butcher Gang enemies | Distract them with empty cans and reach the switches |
| Attraction Storage | Bertrum’s ride | Defeat Bertrum to reach the next power switch |
| Maintenance | Projectionist patrol and chases | Operate the switches and reach the hiding station |
Research and Design: Use the Cans as Distractions
After activating the first Haunted House panel switch, ring the bell on the strength test beside Research and Design. Swing the hammer when it reaches its farthest-back position.
Completing the strength test early does not advance this doorway until the first panel switch has been pulled. If you already rang the bell, finish that earlier power step before checking Research and Design again.
Inside, use empty Bacon Soup cans to distract the Butcher Gang.
- Throw a can toward a spot that draws enemies away from your intended route.
- Move through when their attention shifts.
- Reach the room on the right and activate its power switch.
- Visit the room on the left and use the door switch so you can leave.
- Return to the Haunted House panel and activate the corresponding switch.
Lacie Benton’s audio log is beside the power switch in the right-hand room. Collect it while you are there if you are following the chapter’s recordings.
Attraction Storage: Defeat Bertrum
The next major encounter takes place around an amusement park ride in Attraction Storage. Playing the nearby audio log starts the Bertrum fight, so inspect the room before activating it.
Pick up the axe made available when Bertrum destroys the table. Watch for an arm to slam down and expose its circular joints.
| Fight element | What to watch for | Your response |
|---|---|---|
| Arm slam | An arm strikes the ground | Stay clear of the impact |
| Exposed joints | Circular joints light up | Approach and strike them with the axe |
| Remaining arms | More joints remain intact | Repeat the opening-and-attack cycle |
Destroy all four joints on each of the four arms. Use the outer perimeter to wait between openings, then move inward when a lowered arm exposes its joints.
Finishing the fight unlocks access to the next power switch and allows you to leave. Activate the room switch, then return to the Haunted House panel to continue.
Maintenance: Escape the Projectionist
Maintenance combines exploration with a chase. The Projectionist patrols the ink-covered lower area, and a switch grants access to another section of the room.
- Navigate the lower area and activate the access switch.
- Move away when the Projectionist begins chasing you.
- Reach the newly accessible section and pull the power switch.
- After the lights briefly go out, head back toward the exit stairs.
- When the Projectionist returns, hide in the Little Miracle Station at the top of the stairs.
Stay inside for the scripted encounter. Afterward, return to the Haunted House and complete the remaining panel sequence. Once all required switches are activated, the attraction doors open and the objective changes.
Fix Common Warehouse Progression Problems
The Bendy and the Ink Machine search the warehouse power sequence requires activating room switches and their corresponding Haunted House panel switches. Check your objective, the latest room switch, and the Haunted House panel before repeating a completed challenge.
If the carnival booths are closed: Walk toward the Haunted House entrance. Receiving the power objective opens the stalls.
If the first room stays locked: Complete both required booth games. Passing the shooting gallery alone does not finish the pair.
If Research and Design remains inaccessible: Activate the first room’s power switch and its corresponding Haunted House panel switch. The strength test’s effect waits on that earlier progression step.
If a later room stays closed: Return to the Haunted House panel after completing the previous room. Pulling a remote power switch is only part of the sequence.
If shooting sensitivity feels wrong: Version 2.1.0 changed minigame sensitivity to follow the player setting. Adjust that setting before another attempt.
Before entering the opened Haunted House, finish any optional warehouse activities you want to tackle. Maintenance contains a photo cutout and camera upstairs: stand behind the cutout and aim at the camera until it flashes for A Little Souvenier.
For the optional Unlikely Victory challenge, return to upper Maintenance after opening the Haunted House. A previously inaccessible trunk near the switch contains the alternate Ink Maker dial used to create plungers during the upcoming boss fight.
FAQ
Where do I go for Bendy and the Ink Machine search the warehouse?
Enter Storage 9 and approach the Haunted House entrance. That triggers Power the Haunted House and opens the carnival stalls. If Storage 9 is locked, climb the nearby stairs and pull the switch past Bertrum’s recording.
Do I need perfect scores in the carnival games?
No. Passing results in the shooting gallery and bottle toss advance the story. Perfect scores are required for the separate Bulls Eye and Call The Milk Man achievements. Listen for the passing ding before checking the newly opened room.
Why is the Haunted House still locked after I pull a power switch?
Return to the switch box beside the Haunted House and activate the corresponding panel switch. The Bendy and the Ink Machine search the warehouse power sequence requires both the remote room switches and the panel steps between areas.
Do I fight the Projectionist in Maintenance?
Follow the switch sequence, then hide in the Little Miracle Station at the top of the stairs when the Projectionist chases you again. The encounter continues through a scripted scene while you remain inside.
Continue with
 Bendy and the Ink Machine What Are You Looking for in Chapter 4Bendy and the Ink Machine what are you looking for in chapter 4? Find Boris, solve the book puzzle, repair the bridge, and power the Haunted House ride.
More in Puzzles

Bendy and the Ink Machine Gear Boxes on Level K Guide
Find Bendy and the Ink Machine gear boxes on level k, open them with the wrench, and solve Alice's gear task with tips for three- and five-gear versions.
Bendy and the Ink Machine Music Puzzle: Full Solution
Solve the Bendy and the Ink Machine music puzzle with the right instrument order, Wally's keys, and projector timing. Open Sammy's sanctuary step by step.
Bendy and the Ink Machine Puzzles Guide: All Chapters
Use this Bendy and the Ink Machine puzzles guide to tackle music clues, valve cores, and pipe puzzles, with chapter-by-chapter steps and achievement tips.
Bendy and the Ink Machine Wrench: Location and Uses
Find the Bendy and the Ink Machine wrench in Chapter 1, learn how to use it, and check the old demo locations so you can finish the six-item ritual puzzle.
Continue exploring
Join the community
Official channels for news, updates and player help: